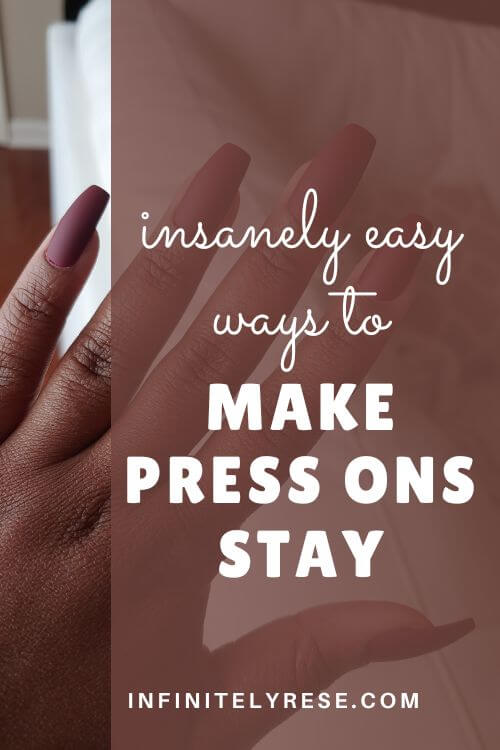
How To Make Press-On Nails Last Longer (5 Steps)
DISCLOSURE: Sometimes I recommend products that I believe are helpful. So, this post may contain affiliate links. I may receive a small commission if you click and make a purchase through these links. For additional information, please read my full disclosure.
If you’re here, then you probably love press-on nails as much as I do and need tips on how to make them last longer.
I’ve got you covered! I have been wearing press-on nails consistently since 2017. And over this time, I have developed a fail-proof process that is guaranteed to make your nails last longer.
But before we get into making these nails last longer, why would you want to wear them in the first place?
3 Reasons You Should Wear Press-on Nails
1. It’s Cheaper than Going to the Nail Salon
The #1 reason you would wear press-on nails is that they’re incredibly affordable! A pack of press-ons usually costs no more than $8.
If you can make your press-on nails last at least two weeks, then you’re only spending $16 a month to look good and fabulous. Maybe $20, including tax.
And we all know that’s a lot cheaper than going to the nail salon every month!
2. Faux Nails are Versatile
Wearing press-on nails gives you options. And who doesn’t love options? Especially if you’re the type of person who loves to switch it up.
Not only do press-on nails come in an assortment of lengths like short, medium, and long, but they also come in a variety of shapes. Some popular shapes your false nails could come in are stiletto, coffin, almond, or oval.
There are matte and glossy nails. And even natural-looking nails. The design options are endless. And because of the affordability, you could be changing up faux nails on a weekly basis.
3. It’s So Easy to Do It Yourself
And here is what I love the most. I can do it all by myself! Maybe I’m the only one, but I love being able to take care of my beauty needs on my own.
It brings me joy to be able to apply my nails in the comfort of my own home. I don’t have to wait hours at the nail salon for beautiful nails!
Save this pin to never deal with lifting press-ons again!
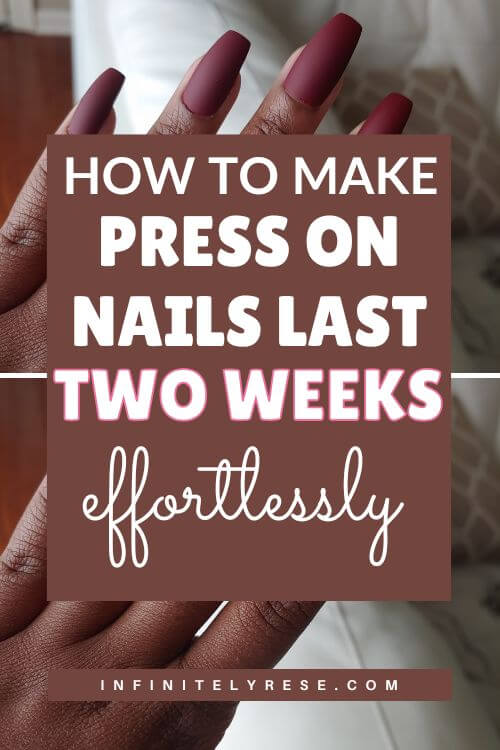
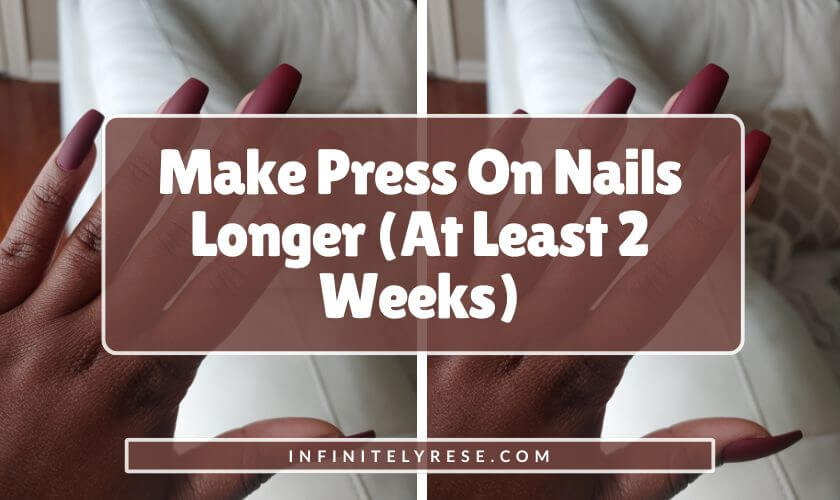
How To Make Press-On Nails Last
What good is it to apply your press-on nails today only to have one pop off tomorrow? That’s no good for me. And no good for you either.
But no worries because as I said earlier, I’ve got you covered. The secret to making your press-on nails last lies in this easy 5-step process.
1. Gather Your Nail Tools
Making sure your press-on nails last for at least two weeks starts with having the right tools. Here are some things you’ll need for a smooth process:
- Nail polish remover to remove old polish and oil.
- A nail clipper to shorten your real nails.
- A cuticle pusher and/or cuticle clipper for pushing back and removing dead skin.
- Use a nail file to smooth the shape of both your natural nail and press-ons.
- The nail kit that includes the press-ons you will be wearing.
- Some nail glue to make the faux nail stay on.I don’t recommend using the adhesive tabs. It does not cover the full length of your real nail, so the faux nail will not be secure. It’s bulky, so the fake nail will not be pressed flatly against your natural nail.
Also, stay away from super glue. You’re asking for damaged nails if you go this route.
2. Prep Your Natural Nails
Next up, you want to start prepping your real nails. The best way to make press-on nails last a long time is by starting with a clean base. Follow these steps to prep your nails:
Remove Old Nail Polish
Take your time to completely remove nail polish from your natural nails. Sometimes using nail polish remover can be tricky, so I like to apply it to a cotton round and let it sit for a few seconds before wiping off the polish. I also use polish remover with acetone in it as that works the best for my nails.
Cut Your Nails Short and File Into Shape
Cutting your nails down will give you a seamless finished look. Since press-on nails come in a variety of shapes, your natural nail needs to be cut as low as possible to prevent it from peeking out from underneath the faux nail. Don’t forget to also file after cutting – you don’t want raggedy nail edges.
Soak Your Nails
Soak your nails in warm water for 10-15 minutes to soften the cuticle. Push back your cuticles and remove the extra skin around the nails to clean up your nail bed. I like to cut my cuticles, but I know that some people don’t. So do what feels right to you.
Wash and Dry Your Hands
Do a quick washing of your hands to remove any cuticle or file debris from your nails. You don’t want to leave any of that behind as you prepare for the next step, which is measuring the press-ons.
3. Choose the Correct Press-on Nail Size
Now that your nails are prepped, clean, and dry, it’s time to measure the press-ons against your real nails. You want the press-ons to be an exact fit so that the overall look is sleek and polished.
If you’re having trouble with the press-ons not fitting, just go with a bigger nail. You can file it down so that it fits perfectly.
Don’t use a nail that is too small because 1.) you may still be able to see the sides of your natural nails poking out and 2.) the press-on may pop off and that defeats the purpose of applying the nails in the first place.
After you’re done measuring the nails, lay the nails out in a straight line in the order that you will apply them to your real nail. This makes for an easier application.
Pin this for later! Get your press-ons to stay on as long as you need them to!
4. Buff Your Natural Nails
Buff your nails then blow then dust off or wipe it with a paper towel dust off with a paper towel. Before buffing the nails, I always go over my nails again with acetone polish remover to get rid of any oils or dirt I may have picked up.
Buffing your natural nails is a very important step if you are trying to make your press-ons last longer.
Buffing your nails creates an adhesive base that allows the nail glue and nail to tightly grip the natural nail.
5. Apply the Faux Nail to Your Natural Nail
So we’re almost to the finish line, and it’s time to apply the press-on nails.
Apply 2 drops of glue on your natural nail and 1 drop on the press-on nail. Apply and press down for 30 to 35 seconds. That’s it! You’re done.
If excess glue seeps out onto your skin, quickly remove it with a cuticle stick.
Stay away from water or any moisture for at least 1 hour. I personally keep my nails away from water for at least 8 hours to allow them to settle and really grip my natural nail.
And the only way I can do that is by doing my nails right before I go to bed!
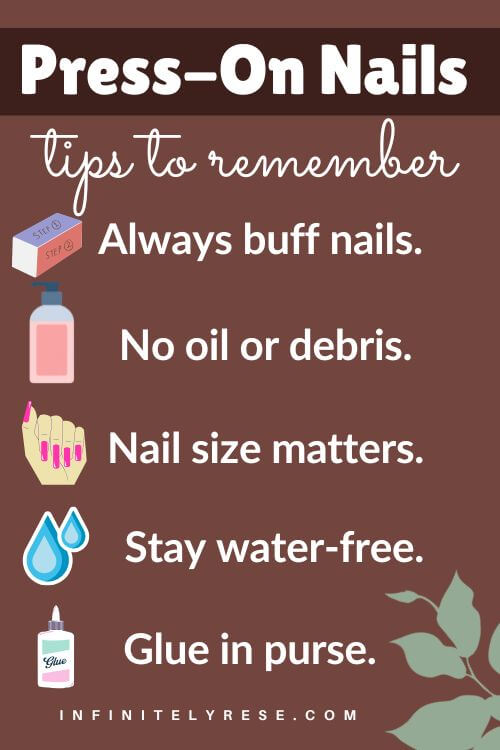
Press-On Nail Tips to Remember
- Always buff your natural nail prior to the press-on application.
- Make sure your nails are free of moisture prior to application.
- Pick the right size press-on for your natural nail.
- Stay away from water for at least 1 hour after applying press-ons.
- Keep nail glue in your purse just in case! Your nails shouldn’t pop off, but if they do I want you to be prepared.
Do you like press-on nails? What are your favorite brands?
There are a lot of nail brands on the market, but my all-time favorite is Kiss Nails. For some reason, these are the only ones that fit my natural nails perfectly. I prefer matte nails over glossy ones.
And I usually choose the color of my press-on nails by season. So in the Fall/Winter, I stick to dark colors, and in the Spring/Summer, I wear lighter colors.
What is your favorite brand of faux nails? What style and color do you prefer to wear?
Looking for more beauty content? Read these posts:
Pin this for a friend who always loses a nail by day two!